I am very happy to finally share with you a project that I have been on working on for quite some time. It is another collaboration with Vectoria Designs, and it is a botanical themed one! Yey!!
The new collection that I want to get you familiar with is called "Herb Garden Box" and of course I had to use it for creating a suitcase, which stores a couple of different things in it, including a mini journal:
You can purchase and download the digital paper pack here - http://pix.vectoriadesigns.com/inf0118.
The suitcase (when closed) looks like this:
There is a pull out compartment in the lid of the case, which allows you to store either a larger size journal or journalling cards or anything else. I put in there two cards and an ephemera holder to store leftover cutouts from the paper collection:
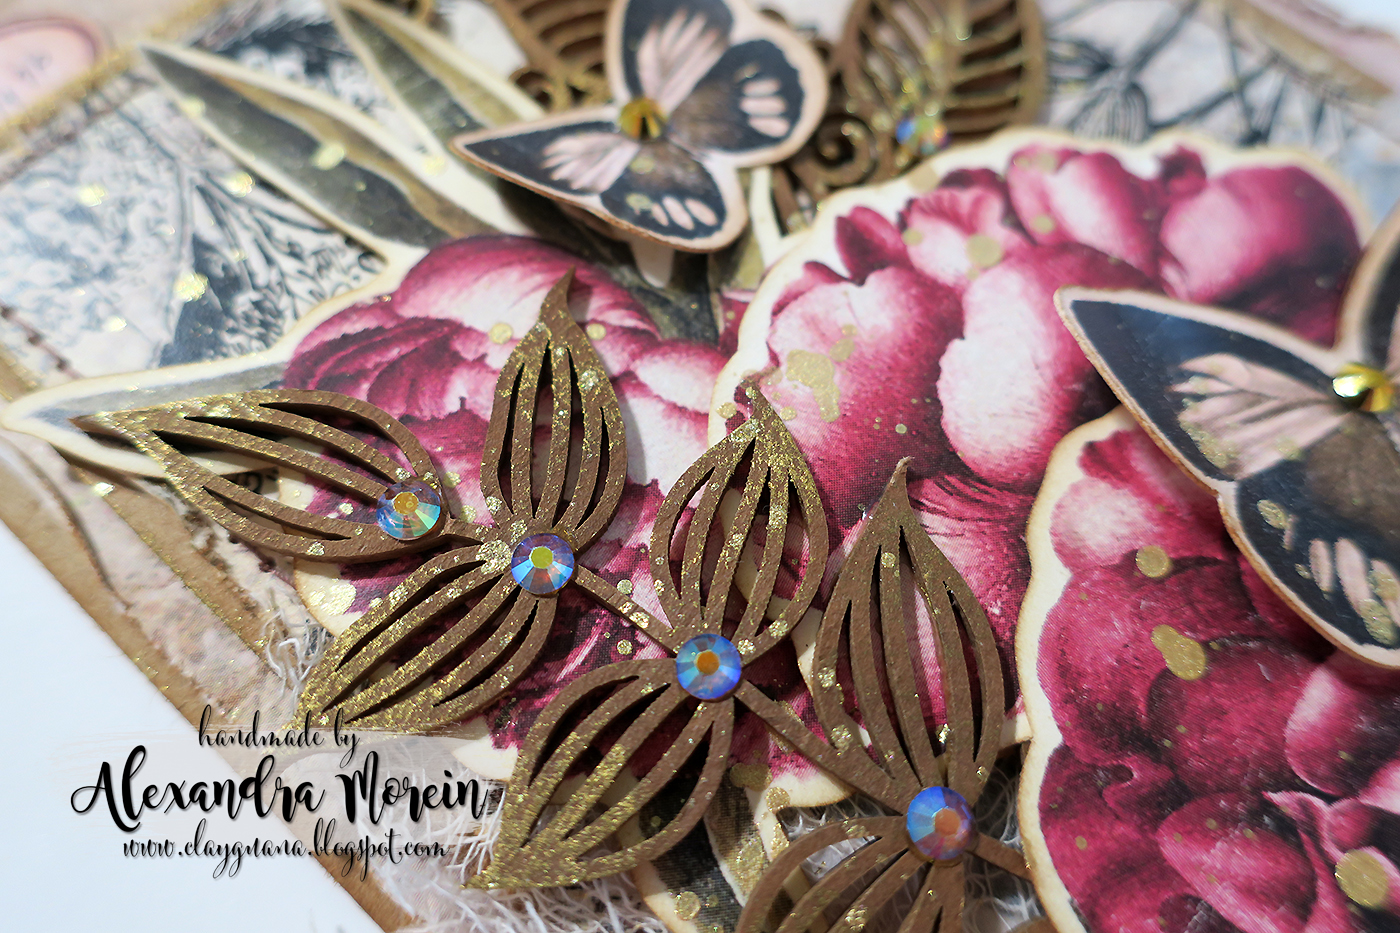
I have added decorative chipboard from Leo Mammy to both of the cards:
The main compartment of the suitcase hold a mini journal and 3 matchbox style boxes with the seed envelopes:
Let's have a quick look at the journal:
The video tutorial for creating this project comes in two parts.
Now, let's get to the measurements of the chipboard pieces that you will need to prepare for this project:
The top and the bottom of the case:
9 5/8" X 6 3/4" (24.4 cm X 17.2 cm) - 2 pc
6 3/4" X 2" (17.2 cm X 5.1 cm) - 4 pc
9 3/4" X 2" (24.8 cm X 5.1 cm) - 4 pc
Divider for the bottom of the case:
6 5/8" X 2 3/8" (16.8 cm X 6 cm) - 1 pc
The "lip" parts for the bottom of the case:
5.5" X 2 3/8" (14 cm X 6 cm) - 2 pc
9.5" X 2 3/8" (24.1 cm X 6 cm) - 1 pc
The pull-out compartment:
9 3/8" X 6.5" (23.8 cm X 16.5 cm) - 1 pc
9.5" X 1.5" (24.1 cm X 3.8 cm) - 2 pc
6.5" X 1.5" (16.5 cm X 3.8 cm) - 2 pc
Chipboard piece for the window frame:
3 1/4" X 4 1/4" (8.3 cm X 10.8 cm) - 1 pc
Journal covers:
4.5" X 5 3/4" (11.4 cm X 14.6 cm) - 2 pc
Below you can find a picture of the matchbox drawer cutting outline:
Next, I have consolidated the links to the metal hardware that I used in this project. Hopefully, all the links will be active for a long time. If some of them are not working, please try to find alternatives.
La-La Land Crafts design team has been showcasing the new products from the recent October release and today I have a new card with the gorgeous stamp design of the Sitting Witch Marci. She is just beautiful!
You acn find the products that I used in the list below:
I have taken some pictures of the details if you want to have a closer look (click each picture to enlarge):
Marci was colored with Copics:
Skin: E04, E11, E00, E000 + R20 (blush)
Eyes: YG99, YG97, YG91
Hair: E18, E15, E13
Hat + Boots: W10, W8, W6, W4
Cape: BV08, RV66, RV63, BV13, BV11
Dress: E08, YR18, YR14, Y18
Owl: E59, E57, E55
Green Stocking's Stripes: YR99, YG97, YG95, YG91
I haven't created a multi layered card in a while, really enjoyed putting this one together. I hope you like it and fell inspired to create a card of your own :)
This weekend I told my husband that I am so tired that I am physically unable to go out anywhere and entertain the kids. Of course, staying in for the whole weekend was like a dream (at least for me), but the kids wanted to do something (who doubted, right?!), so yesterday (on Saturday) we didn't have a choice but to take them out somewhere... Today, on the other hand, I insisted on not going out anywhere and had a relaxing day in my studio, just sorting through some of the supplies, scheduling a couple future posts on the blog, watching videos on You Tube and also having fun putting together a simple card in a vintage style.
Sweet Stella from Leo Mammysent me some gorgeous chipboard and I was very itchy to use it on my projects. I have an additional post already scheduled for October 21, where I will share a couple more cards with the stunning botanical chipboard designs by the Leo Mammy brand, so stay tuned :)
Although there are so many ways in which you can alter the decorative chipboard, I tend to be a fan of a more "natural" look. For that reason I decided to color the chipboard pieces with the Vintage Photo Distress Stain and add some gilding wax along the edges. I think it tured out quite nice!
I also like the look of the label on the card; it is attached to the muslin ruffle with the help of the bulb pin:
The papers and the cutout elements that I used for creating this card are from the digital kits that I buy quite often these days and use them for making journals. Vintage style has always been my favorite.
That's all from me for today. I hope you have had a nice Sunday too. Talk to you again tomorrow :)