Monday, July 18, 2016

Upcycle with DIY Craft Paper Rolls from Graphic 45

Hello!

If you have never heard or used the DIY Craft Paper rolls from Grapchi 45, it's just about time to begin doing that :)

The rolls come in 6 designs:
DIY Craft Paper-Bicycles & Polka Dots
DIY Craft Paper-Number & Stripe
DIY Craft Paper-Curiosity Collage & Butterflies

Each package includes 2 of the paper sheets which measure 19.5" x 27". They are thin, easy to use with mod podge and are just perfect for covering large surfaces, as well as for altered art and for the upcycling projects.

Today I want to show you how you can change the look of a storage box, a candy packaging and a cling wrap tube with the help of the DIY Craft Paper.

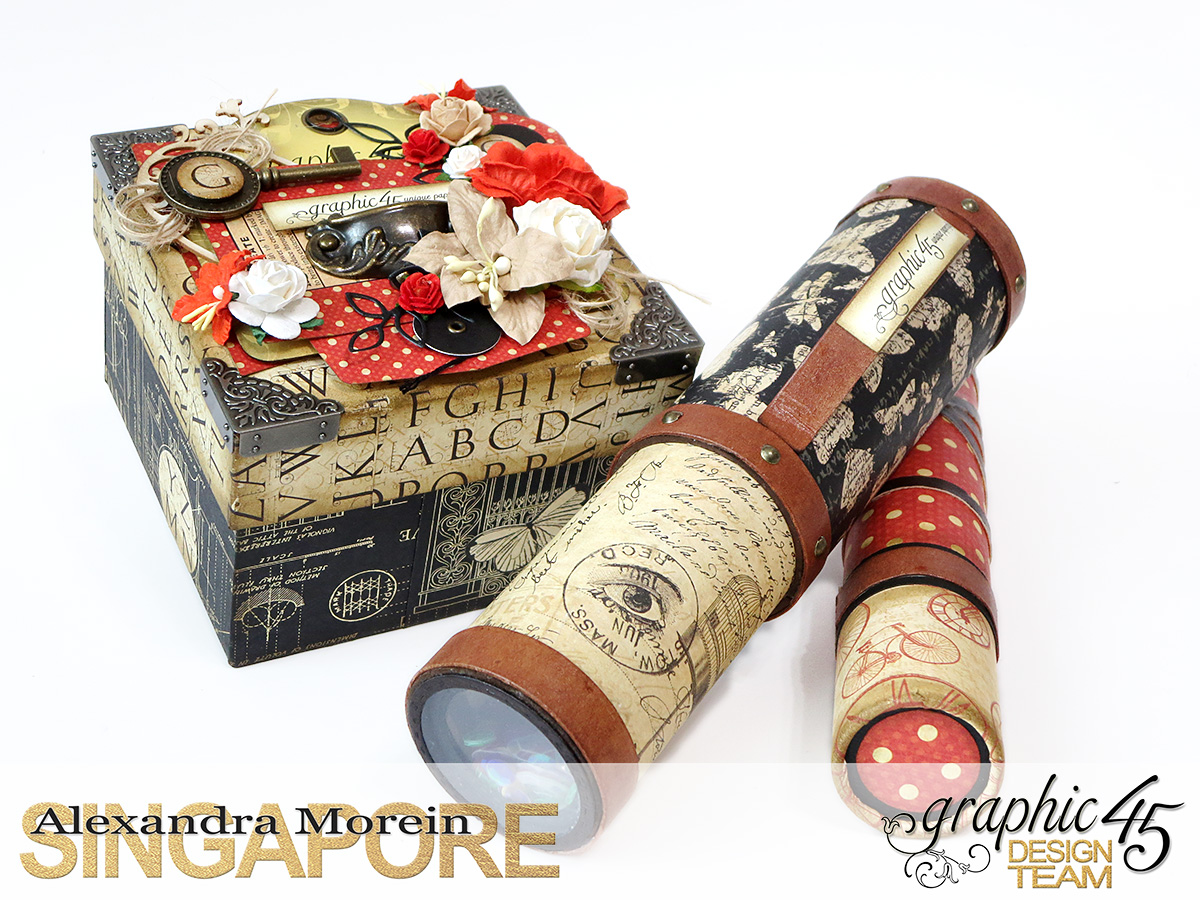
Let's start with the storage box. This is the embellished box:


I've used the "Architecture and Alphabet" roll, as well as a metal key and a metal pull. I've also used one of the ATC policy envelopes at the background. The flowers are from I Am Roses


The inside is covered with DIY paper too:


And this is the "before" picture of the box:


The second item is a former candy packaging. I used the DIY Bicycles & Polka Dots for altering it:


Not something fancy, but just another idea for using the DIY paper rolls :) This is how it looked like before:

The third one is a full functioning kaleidoscope which I made from the cling wrap empty tubes and used the Curiosity Collage & Butterflies roll to cover it on top:


Inside the kaleidoscope there is an acrylic triangular mirror tube. I used the transparent sequins for the front chamber. You can find a very helpful and comprehensive tutorial on how to make a kaleidoscope here. It's the same exact tutorial which I used for building up my kaleidoscope.
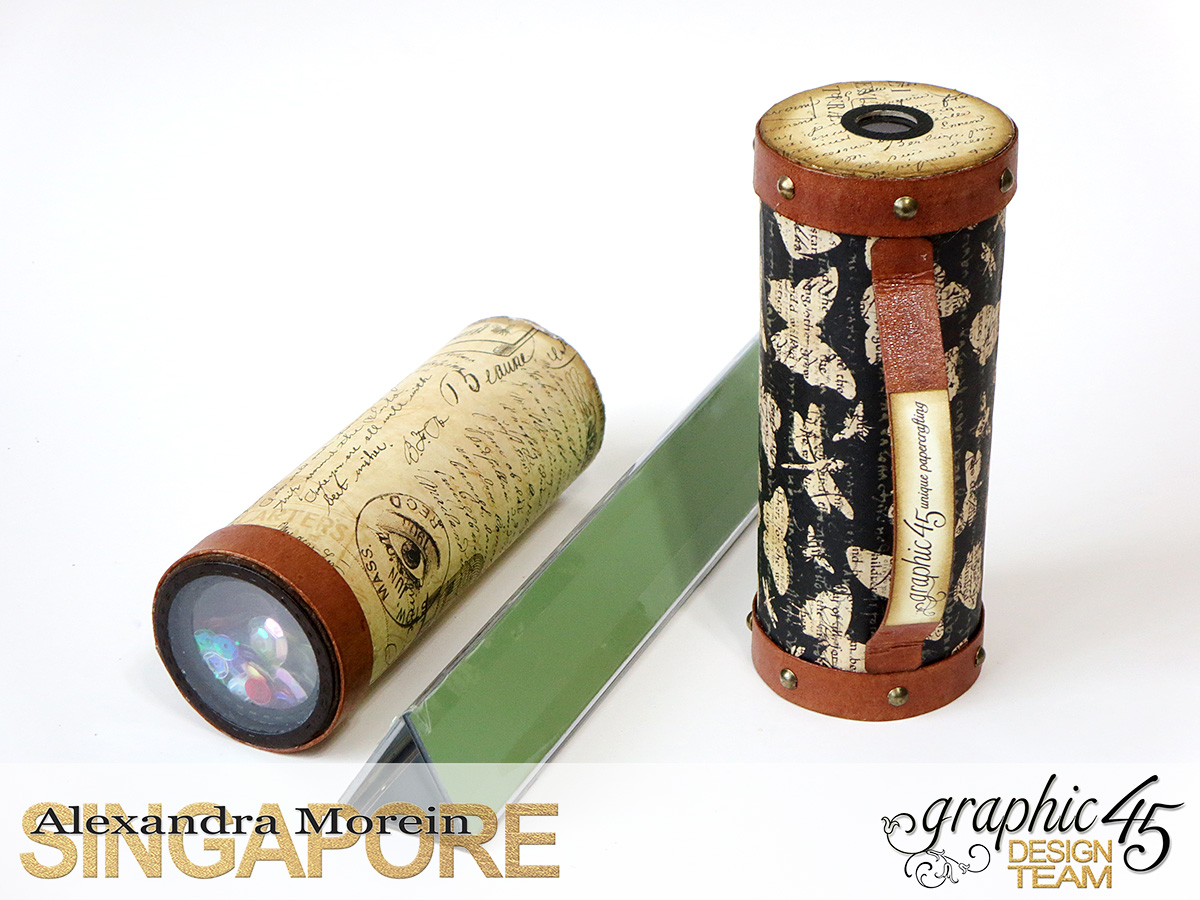


This was how the construction process began:


I hope you will give a try at using the DIY paper rolls while working on one of your next projects too.

Thanks for stopping by!


Hugs,
Alexandra

Friday, July 15, 2016

July Anything Goes Challenge @ I Am Roses

Hello!

The winner of the June Anything Goes Challenge was announced at the I Am Roses Challenge Blog and now it's time to start creating for the July 'Anything Goes' Challenge :)

I'm sharing my inspirational piece with you today and it's a mini album, on the cover of which I used a lot of the flowers:


Pink Cherry Blossoms
Soft Green Mini Lily Crafts Paper Flowers
Mixed All Turquoise Tone Mulberry Paper Flowers

I love how everything came up together. I think this is the most pastel project of mine :)


I also used the dies from the Russian company called "Fantasy", and the papers from the Ukrainian brand "Fabrika Dekoru". The paper line which I used is called "Vintage Romance" and the die cut embellishments inside the album are from the set called "Love letters". 

Here are some of the close-up pictures.  I used a wide lace for creating pockets on the inside of the front and back covers:


On the front cover I layered several papers from the "Vintage Romance" collection, and on the spine used the die-cuts from the "Love Letters":


The inside pages were created based on the tutorial from an American crafter Cathy Chapdelaine known as "So Much Scrap". I loved her "Precious Memories" mini and purchased the tutorial for building the pages. You can have a look at Kathy's works here:


I have a video flip-through for this album:


And finally, here are the rules for joining the I Am Roses challenge:

The challenge runs July 15th - August 8th (Ends 11:55pm PST)
Theme: "Anything Goes"
Minimum (2) I Am Roses Products
One project submission per participant
One winner will be chosen
Participants will upload their project to their blog or forum, Label it “July IAR Challenge”
Participants will add a direct link to their project using the InLinkz tool provided. (*if you are unable to use the tool, leave a comment to this blog post and leave a direct link to your project)
Must Subscribe/or be a Follower of the IAR Challenge Blog
Winner will be announced alongside the next NEW monthly challenge on the 15th

I hope you like the album and will join us for the challenge.


Thanks for stopping by!


Hugs,
Alexandra

Photo Inspiration and the Selfie Marci for La-La Land Crafts

Hello everyone!

We have a photo inspiration theme at the La-La Land Crafts blog this week (the photo itself may be found at the bottom of this post).

My card features the following stamp and dies:
Stamp:
Dies:
Loopy Butterflies (August 2015 Club Kit)


Marci is colored with Copics:
Skin: E04, E11, E00, E000, E0000
Hair: E35, E31, E30
Outfit: R85, R83, R81, R30
             RV29, RV14, RV13, RV10
             BV08, BV04, BV02, BV00
             YR18, YR16, YR15, YR12

Here are some close-ups of the details:


Hop to the official LLLC Blog to have a look at the cards by the rest of the design team.


And here is the inspirational photo which we had to use:


Thanks for stopping by.


Hugs,
Alexandra

Tuesday, July 12, 2016

June Club Kit from La-La Land Crafts

Hello!

Summer is here and I'm ready to share with you two of the cards created with the June cub kit from La-La Land Crafts. The kit includes the following items:

On my first card I used the sweet Summer Vacation Marci, as well as the dies from the kit:


Marci is colored with the following Copic markers:
Skin: E04, E11, E00, E000, E0000
Hair: E21, E23, E27
Clothes: BG09, BG07, BG05, BG01, BG000
               E35, E33, E31, E30
Flower: E04, E97, E95, E93
Floaty Ring: B34, B32, B00


Here are some close-ups:


The base of this card was cut using the GoKreate die. You can also see a Stitched Tag behind Marci, which I stamped with one of the little shell stamps from the "French Riviera" set by Prima. The paper was from that same collection too. 


The second card is featuring the cute dolphins, I merged the two stamps together.

The dolphins are also colored with Copics:
N7, N5, N3, N1, N0 + BV20
R85, R83, R81

I used this tutorial on You Tube, to create this shaker card.


And both of the cards together:


I hope your copy of the club kit is on the way! We would love to see what you create with it, so please share your finished cards with the LLLC team on Facebook here.


Have fun creating!


Hugs,
Alexandra

Saturday, July 9, 2016

Graphic 45 Safari Adventure - Mini Album in a Case

Hello dear visitors!!

This post will be very picture-heavy, beware! :)

I got a chance to play with the amazing "Safari Adventure" paper collection from Graphic 45. The colors and the images of "Safari Adventure" are without any exaggeration stunning and inviting to create.

The project which I am sharing today includes a travel case with a mini album inside. The mini album has a lot of interactive flaps, so despite the fact that there is a decent amount of pictures in this post, I will also be adding a video overview (may be found at the bottom of this post), so that you could visualize everything better.

And for now, only the pictures follow. I hope you will enjoy looking :)

First, the album and the case side by side:


And now separately:


The album's spine is connected to the case and once you want to flip through it, you have to slide it off the case's base:


Here is the album and its inside pages:


Loved this mini door plate from G45!


The album has 4 pages, but is very heavy in the light of the amount of the flaps and the paper used:


Please stay tuned for the updated post and the video overview of this set. 

Here is a video overview of the Safari Adventure Mini Album in a Case:


Have a creative weekend.


Hugs,
Alexandra