Hello dear friends and visitors!
Quite a while ago I purchased (completely by accident) a flip book by Teresa Collins. And just out of utter interest I wanted to know how new this product is, so I checked online and found out that it was presented to the public at the
CHA 2014 exhibition. I was really surprised that not a lot of people know about it or use it in their projects.
The fip books are wonderful for gifts, I'm telling you! Fun and original! You can find one of the additional examples
here. Once you know how to make them, you will not be able to stop.
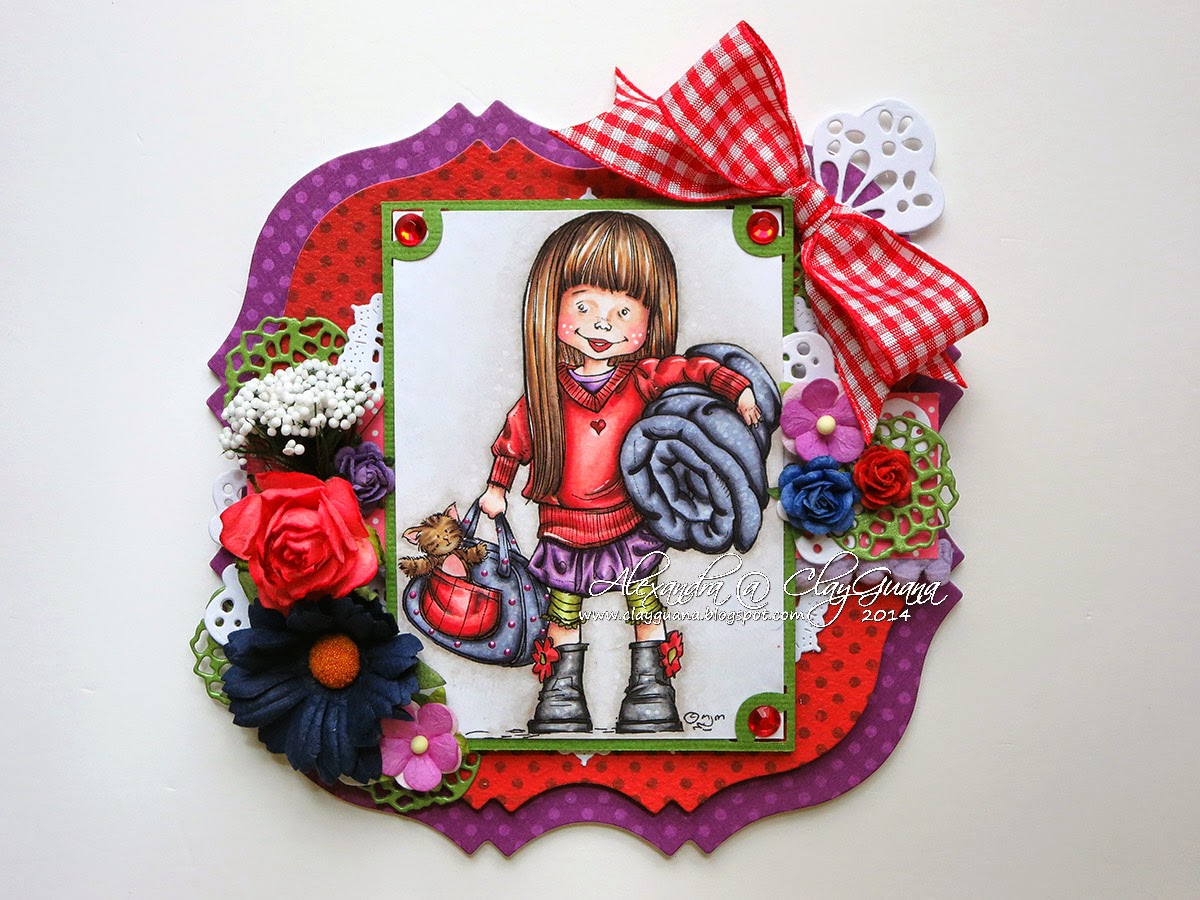
I already made
one (of the smaller size) with the La-La Land Crafts Mermaid Marci from the Exclusive Club Kit and prepared 3 empty flip books for future of the 6"X6" size.
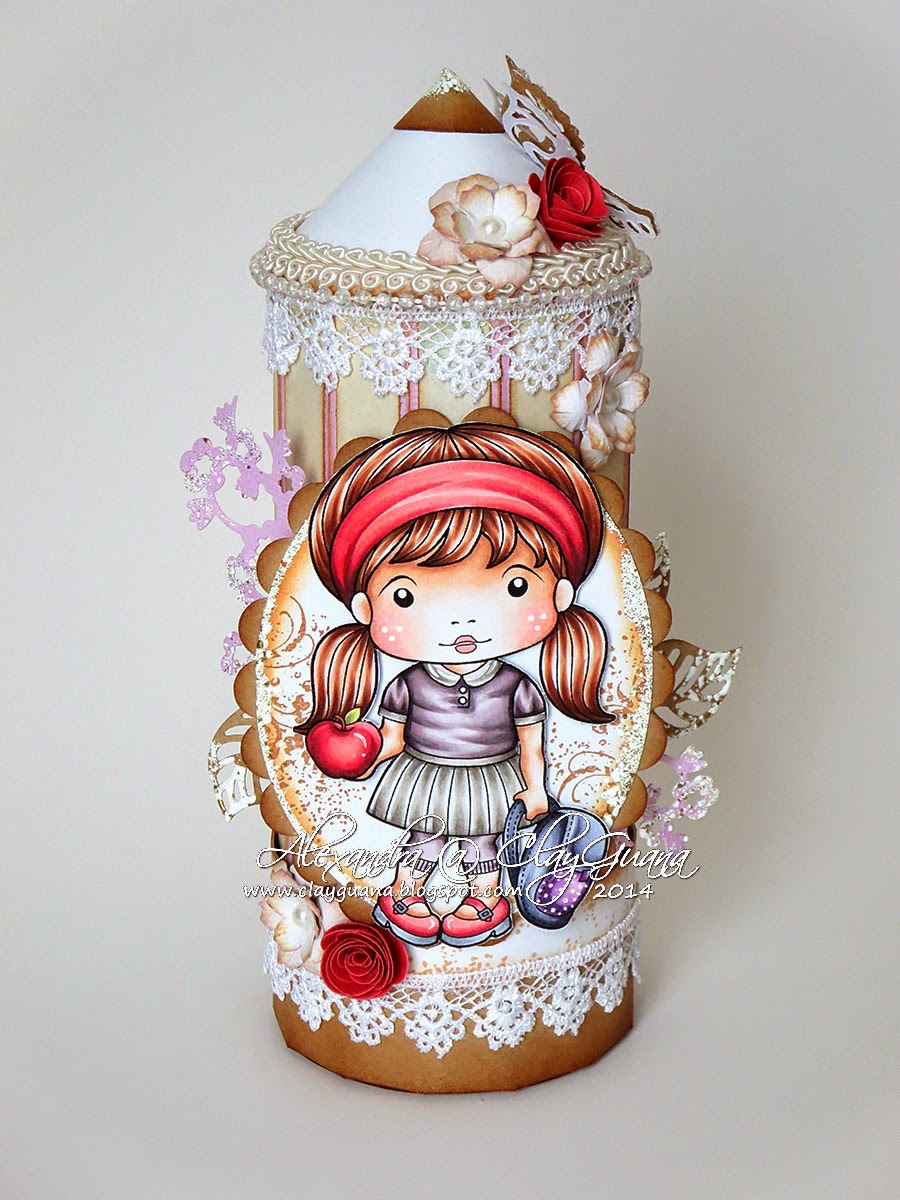
Here's another example of the flip book I've made:
In the current post I want to show how you can make the exact same flip book by your own. Those who may find it in their local craft store are welcome to buy a ready-made one (the price is really very cheap), but those who like to make things by their own hands, can use my tutorial.
The first thing you'll need is a chipboard for the cover of the following size:
To wrap the cover, you'll need to pieces of cardstock of the following size:
Apply a strip of score tape to the back side if one of the pieces and connect the two together (here I'm using a 1/4" score tape):
Now you have a whole piece:
Draw two guide lines 1" from the edge of the wrapping paper (they will help you to position the chipboard pieces in a straight way):
Take off the score tape from the chipboard and apply wet glue in the center of each of the 6" x 6 1/4" pieces. Attach one by one to the cardstock, using the guidelines and leaving a 1/8" space between. Miter the corners of the cardstock and apply score tape as shown at the picture below:
After wrapping the edges (I would recommend to start wrapping the longer sides first), your cover will be ready and will look like this:
The next thing you will need is a strip of cardstock paper measuring 1 1/4" X 12" and another one measuring 1 1/4" X 6". Score the longer strip at 3" and 9 1/4":
Apply glue to the flips of the longer strip and cover with the shorter strip as shown below:
Cut another cardstock measuring 6" X 11 1/4". Score it on the longer side at 3 1/8", 3 5/8", 4 1/8", 4 5/8", 5 1/8", 5 5/8":
Prepare another piece of cardstock measuring 6" X 8 3/8", score at 6 3/4":
Slide the 6" X 8 3/8" cardstock through the band you've made before. Flip the paper to the back side and apply wet glue next to the scored guide line as shown below:
Now move the band to the side so that it covers the glue and is right along the scored guide line. Press to glue down the band:
Now apply score tape along the edges of the cardstock with the band (on its back side, of course) and put it aside:
Cut 5 pieces of cardstock of the following sizes:
- 6" X 5 5/8"
- 6" X 5 1/8"
- 6" X 4 5/8"
- 6" X 4 1/8"
- 6" X 3 5/8"
Back to the cover, apply a piece of 0.5" score tape to the spine:
Remove the score tape backing from the 6" X 8 3/8" cardstock and add wet glue in its central area:
Now attach this piece closet to the rights side of the cover, try to center it from top and bottom though. After gluing down the cardstock, find the folding lines using your bone folder:
Apply score tape as shown below between the score lines of the 6" X 11 1/4" cardstock. Pay attection that the score tape is next to the score line, but is not overlapping it:
Fold and burnish all the score lines of this piece and then adhere the parts you've prepared before (starting from the smaller one and moving to the finishing 6" X 5 5/8" piece (which will finally cover all the rest):
This is how it should look like from the side:
Slide the flip book through the band inside the cover, apply wet glue to the band (you can already adhere the pulling tab to your flip book):
Close the flip book itself (without closing the cover) while centering it inside the cover and press with you fingers on top, so that it will stick good to the band:
Well, everything is done and ready to be embellished:
You can create so many interesting and easy projects with this flip book! I made a a very easy album for my friend for her daughter's 1 birthday:
I hope you find this tutorial useful and will create one of the flip books on you own. I will be very happy if you share your makes with me in comments.
Thanks for viewing and have a nice day!
Hugs,
Alexandra